How to tune your microphone
How to tune your microphone
Step 1 Where should the microphone be set?
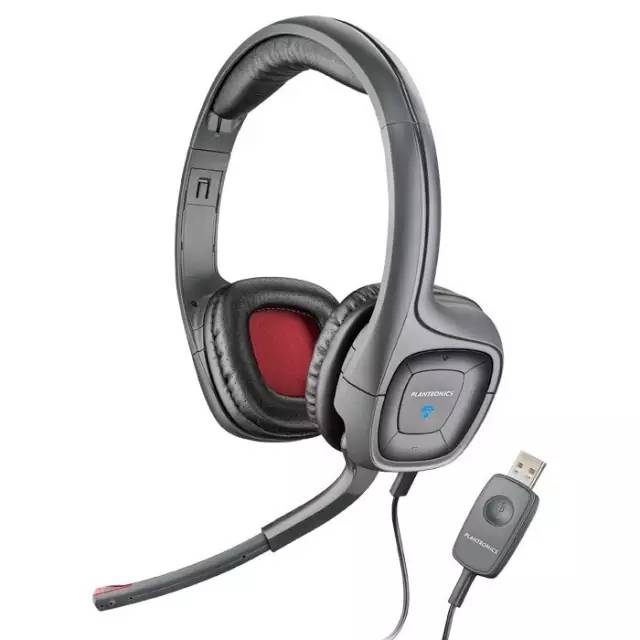
Firstly, the earphone and microphone in real exams are as below:
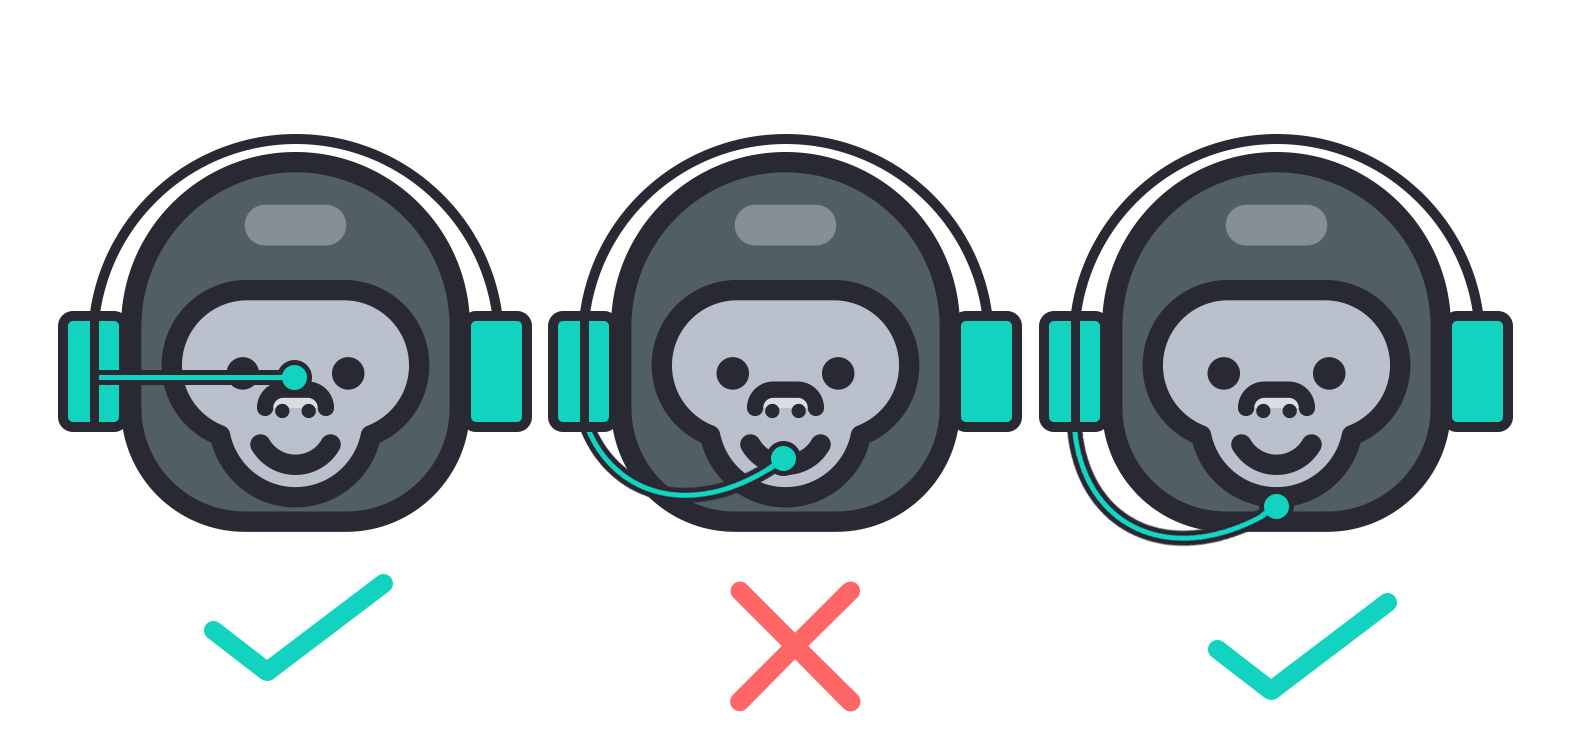
The microphone is supposed to be set at the tip of your nose or lower jaw, as displayed below. Please pay attention that both the left and the right are correct and the middle position may cause unwanted p-pops or weak receptions of your voice.
Step 2 How to tune your microphone
When tuning it, do not just say several single words into it, but try a short passage, like an answer for DI or your self-introduction, within 15s - 20s.
Check the result of your recording, and pay attention to the points below:
P-pop:Your voice is too weak and indistinct.
Indistinct voice: Your voice is too weak and indistinct.
Interferences from others next to you: You can wait untill others start to check the devices before starting your own tuning. Generally, unless the test taker sitting next to you deliberately shouts and your microphone is set too far to your lips, your own voice will be very clearly recorded, with others' noise sounding as a background. If this is not the situation, try to place your microphone a bit closer, or raise the hand and ask supervisors to take care of the noisy one next to you. Please pay attention that you shoud not try speaking even louder to cover the already loudly noise, for that may result in a very low speaking grade.
Undue loudness:Your unduly loudly pronunciation is unlikely to earn you good grades, and may cause gratuitous interferences to other test takers.
Step 1
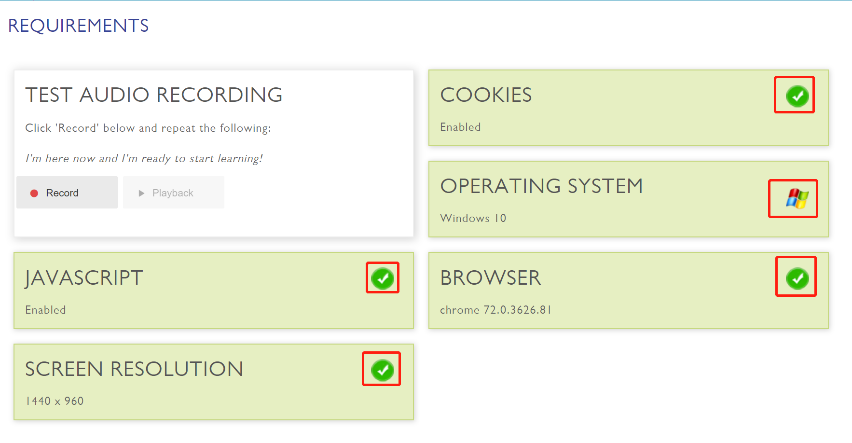
Log in the web page of mock exam and click 'Test Your Computer'

Step 2
Pearson’s official website will automatically test hardware and software involved in mock tests.
Step 3
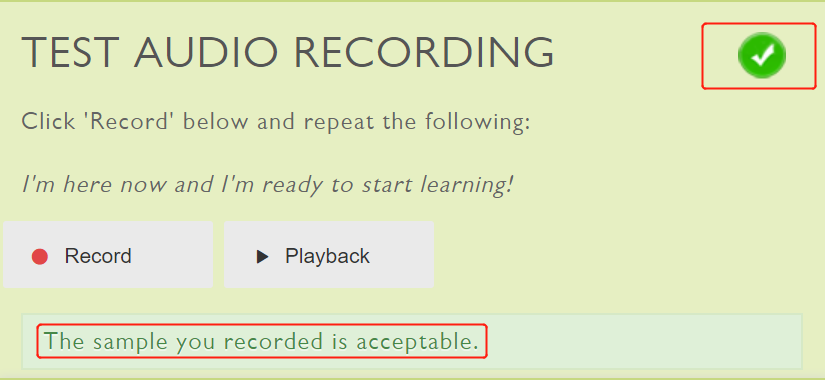
Test your microphone as required in real exams.
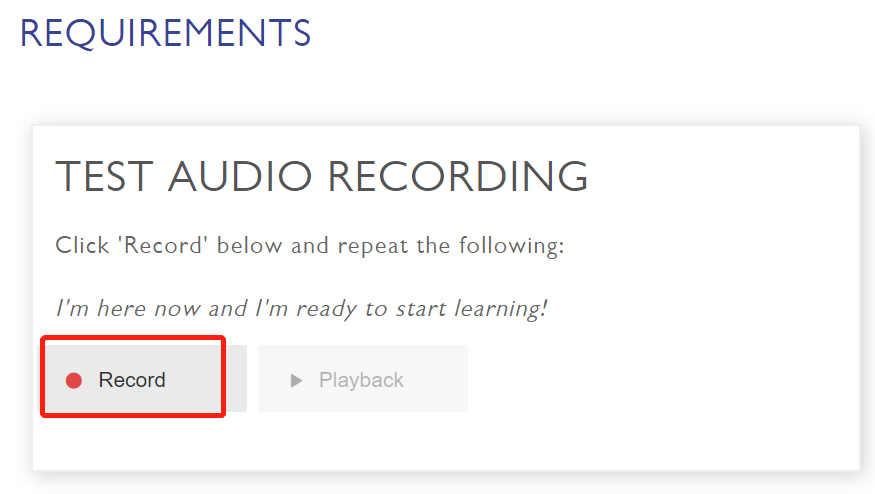
Note: Earphones with a microphone are highly recommended, such as Apple's earphones, but not built-in ones on laptops! The tick in the red box in the right upper corner only denotes your voice being detected and recorded, and you still have to listen to the recording in order to make sure its quality.